
How to Jump-Start a Car Safely
The correct order of cables, what to avoid, and what to do if the engine still will not start.
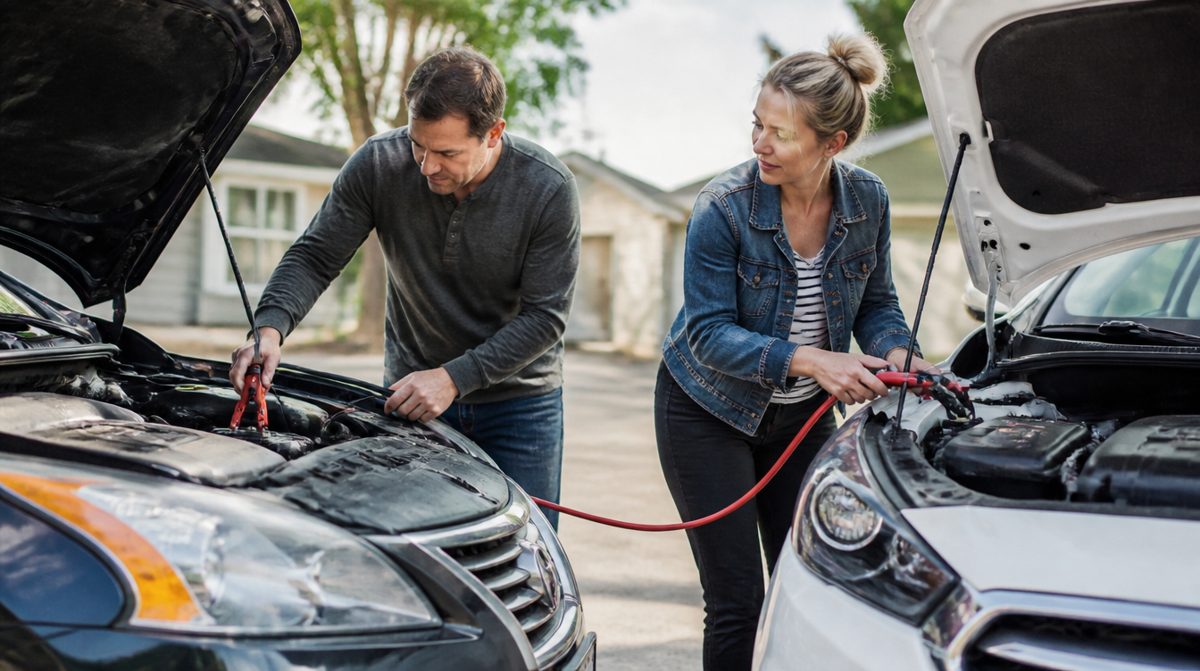
A dead battery is a common problem, and a jump-start is often all it takes to get moving again. The process is simple, but the order of the steps matters for your safety and for the electronics in both cars. Read your owner's manual first, since some vehicles have specific jump points or warnings, and follow it if it differs from the general steps below.
Before You Connect Anything
Park the working car close enough for the cables to reach, but make sure the two vehicles are not touching. Turn both engines off, set both parking brakes, and switch off lights, radio, and other accessories in the dead car. Take a quick look at the dead battery. If it is cracked, leaking, or badly swollen, do not attempt a jump-start and call for roadside help instead.
- Good quality jumper cables with clean clamps
- A second vehicle with a healthy battery, or a portable jump pack
- Safety glasses and gloves if you have them
- Your owner's manual to locate the battery or remote jump terminals
Step-by-Step Jump-Start
- Open both hoods and find the batteries. Some cars hide the battery under a cover or in the trunk, with marked terminals under the hood for jumping.
- Identify positive and negative. Positive is usually marked with a plus sign and a red cap. Negative is marked with a minus sign.
- Attach a red clamp to the dead battery's positive terminal. Make sure it grips metal firmly.
- Attach the other red clamp to the good battery's positive terminal.
- Attach a black clamp to the good battery's negative terminal.
- Attach the final black clamp to bare, unpainted metal on the dead car, such as a bolt on the engine block, away from the battery. This grounding step helps keep any spark away from the battery itself.
- Start the good car and let it run for a few minutes so it can send charge across.
- Try starting the dead car. If it does not start, wait a few more minutes and try again.
- Remove the cables in reverse order, starting with the black clamp on the grounded metal, and be careful not to let the clamps touch each other.
After the Car Starts
Keep the revived car running. Driving for a good while, rather than a short trip around the block, gives the alternator time to put charge back into the battery. Avoid shutting the engine off until you reach a place where you can deal with the problem, because the battery may not have enough left to restart.
If It Still Will Not Start
- Check that the clamps are tight and on clean metal. Corrosion on terminals can block the flow.
- Listen for a clicking sound, which often means the battery is very weak or a connection is poor.
- If the engine cranks but will not fire, the issue may be fuel or ignition rather than the battery.
- If the car dies again soon after a jump, the battery may be at the end of its life or the alternator may not be charging.
Safety Reminders
Never lean over the battery while connecting cables. Do not smoke or create sparks nearby, since batteries can release flammable gas. Keep cable ends from touching one another once they are connected to a power source. If you are unsure about any step, a roadside service professional can do the job quickly.
The takeaway: connect red to positive, black to the good battery's negative, and the last black clamp to bare metal on the dead car. Then drive for a while and have the battery tested so you know whether you need a replacement.