
How to Replace a Furnace or Air Handler Filter
Find the right size, install it facing the correct way, and set a simple schedule so airflow stays healthy.
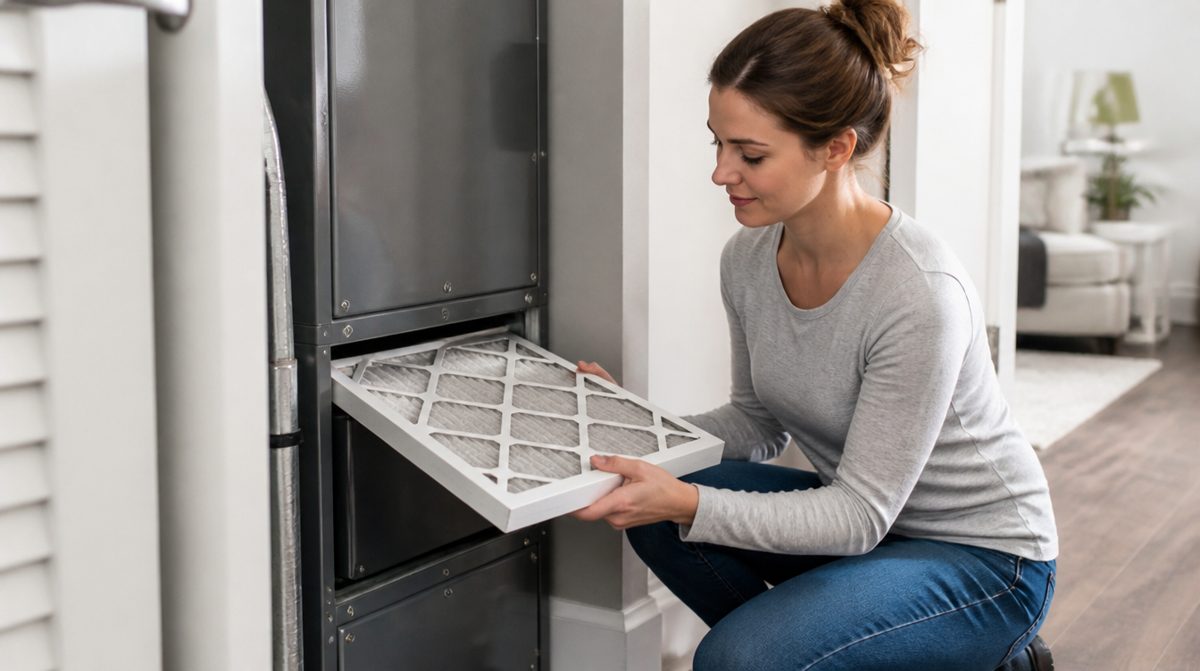
Few home chores are as quick and as valuable as changing the heating and cooling system filter. A clean filter lets air move freely, helps the system run efficiently, and keeps dust from building up on internal parts. A clogged one forces the blower to work harder and can contribute to uneven temperatures. This guide shows how to choose the right filter and swap it safely.
Know What You Are Replacing
Most filters sit in one of three spots: in a slot on the side of the furnace or air handler, behind a return-air grille on a wall or ceiling, or in a rack near the blower in a closet or attic. Your system may have more than one. Check each return grille if you are unsure.
The filter's size is printed on its cardboard frame, usually as three numbers for length, width, and thickness. The printed size is the nominal size, and the actual dimensions may be slightly smaller. Buy the same size that came out. Using a filter that is too small lets air bypass it, which defeats the purpose.
Understanding Ratings
Filters carry a rating called MERV, which describes how well they trap particles. A higher number captures finer particles but also restricts airflow more. Some systems are not designed for very dense filters. Check your system's manual or ask an HVAC technician which range is appropriate before moving to a much denser filter than you have been using. A good fit for your equipment matters more than the highest rating on the shelf.
Replacement Steps
- Turn the system off. Set the thermostat to off, or switch off the power at the unit's service switch, so the blower is not running while the slot is open.
- Locate the filter. Open the access panel or grille. Many panels lift off or open with a latch or thumbscrew.
- Note the airflow arrow. Before pulling the old filter, look at the arrow printed on its frame. It points in the direction air travels, toward the blower and away from the return duct. Take a quick photo for reference.
- Remove the old filter. Slide it out slowly to keep trapped dust from falling. If it is very dirty, hold a bag under it as you take it out.
- Write the date. Use a marker on the frame of the new filter to record the date of installation.
- Insert the new filter. Slide it in with the arrow pointing the same direction as the old one, making sure it fits snugly without forcing it.
- Close up and restart. Replace the cover or grille, turn the power back on, and set the thermostat as usual.
Setting a Schedule
The right interval depends on your household. Homes with pets, smokers, nearby construction, or allergy sufferers often need more frequent changes than a quiet, low-dust household. Thicker pleated filters may last longer than thin fiberglass ones, but follow the guidance on the packaging. A simple habit is to check the filter at the start of every month and replace it when it looks gray and clogged or when light no longer passes through it.
Warning Signs
- Weak airflow from vents
- Rooms that are hard to heat or cool
- Visible dust around supply registers
- A system that runs constantly or shuts off unexpectedly
If these continue after a fresh filter, a technician can check for other causes such as blocked ducts or a dirty coil.
Takeaway: Match the size, follow the airflow arrow, and check monthly. A fresh filter is one of the simplest ways to look after the system that keeps your home comfortable.