
Interior Painting Mistakes to Avoid
Skipped prep, wrong sheen, and rushed coats are the usual culprits behind a disappointing paint job.
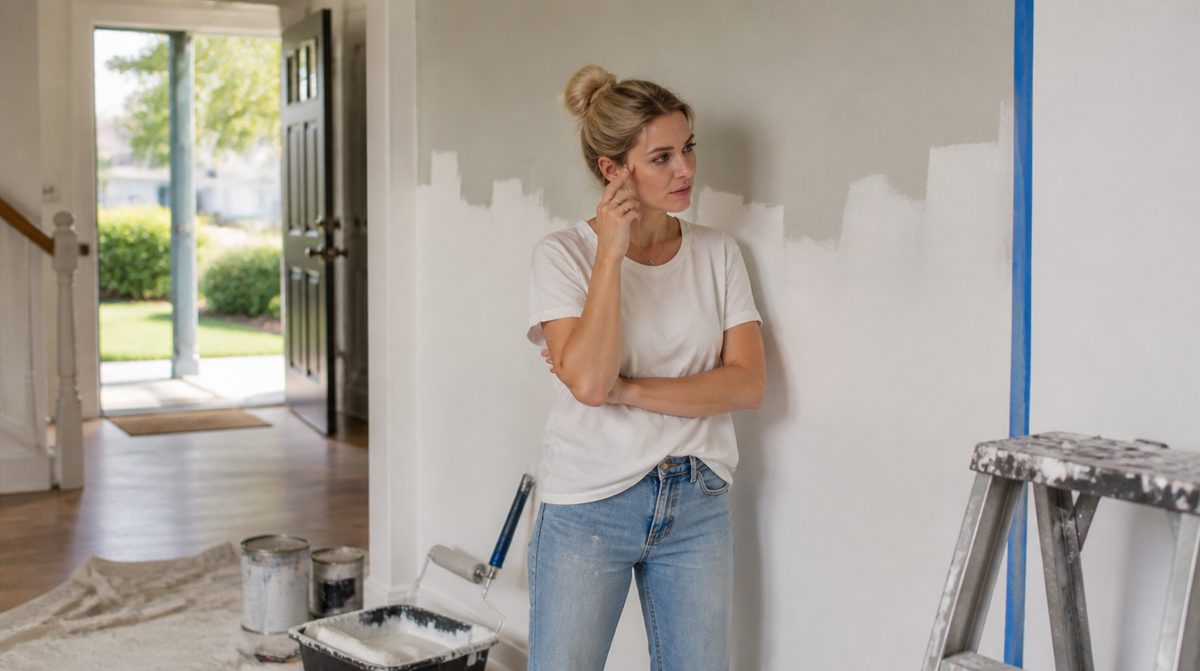
Paint is one of the most affordable ways to transform a room, which is why so many people take it on themselves. It is also easy to get wrong. The results people are unhappy with usually trace back to a few predictable errors, most of them made before the brush ever touches the wall. Here are the mistakes to avoid and what to do instead.
Preparation Mistakes
Skipping Surface Preparation
Paint does not hide dirt, grease, or loose material; it traps it. Applying paint over dusty, greasy, or glossy walls leads to peeling, uneven color, and poor adhesion.
- Wash walls with mild soap and water, paying attention to kitchens and bathrooms.
- Fill holes and cracks, let the filler dry, and sand smooth.
- Scuff glossy surfaces lightly so new paint can grip.
- Wipe away dust before painting.
- If the home is old and you are unsure what is on the walls, check with a qualified professional or your local health department about safe practices before sanding or scraping.
Skipping Primer When It Is Needed
Primer helps with adhesion, blocks stains, and evens out porous surfaces. Painting over patched areas, dark colors, or stains without primer can leave blotches that show through multiple coats. Use a stain-blocking primer for water marks or smoke, and a tinted primer when going from dark to light.
Color and Finish Mistakes
Choosing the Wrong Sheen
Sheen affects both appearance and durability. Flat and matte finishes hide wall flaws but are harder to wipe clean. Satin and eggshell offer a balance and suit living areas and bedrooms. Semi-gloss stands up to moisture and scrubbing, making it a common choice for trim, doors, kitchens, and bathrooms. Glossier finishes reveal imperfections, so careful prep matters more. Ask the paint retailer which product suits each room.
Skipping the Sample
Color looks different under different light and next to different surroundings. A tiny chip in the store is not a reliable guide.
- Test a sample on a large piece of board or directly on the wall.
- View it in morning, afternoon, and evening light.
- Look at it next to furniture, flooring, and trim.
Application Mistakes
Ignoring Tape and Edges Properly
Painter's tape saves time, but only if applied well. Press the edge down firmly to prevent bleed. Remove tape while the paint is slightly tacky and not fully dry, pulling at an angle away from the wall to avoid peeling. For crisp lines, run a thin bead of caulk or use a fresh blade to score edges.
Rushing Coats and Overworking the Roller
Thick coats drip and take much longer to cure. Two thin coats beat one heavy one. Allow the full recoat time listed on the can, and keep a wet edge by working in sections and rolling in a consistent pattern, such as a W shape, then filling in. Avoid pressing hard or going back over partly dried paint, which can leave marks.
Using Cheap Tools
A poor roller cover sheds lint and holds little paint, and a stiff, shedding brush leaves streaks. Choose a roller nap suited to the wall texture and a quality angled brush for cutting in. Clean tools promptly so they last for future projects.
Forgetting Ventilation and Safety
Keep windows open and air moving, and follow the safety instructions on the label. Protect floors and furniture with drop cloths. Store leftover paint tightly sealed, and dispose of leftover paint and rags according to local rules, since materials can be hazardous. Rags used with certain oil-based products can be a fire hazard if not handled correctly, so read the label.
Takeaway: Clean and prime surfaces, test colors in your own light, choose the right sheen, and apply thin, patient coats. Most paint problems are prevented before the first stroke.