
How to Pack a Kitchen for a Move
A room-by-room method for wrapping dishes, glasses, and pantry items so they arrive intact and unpack easily.
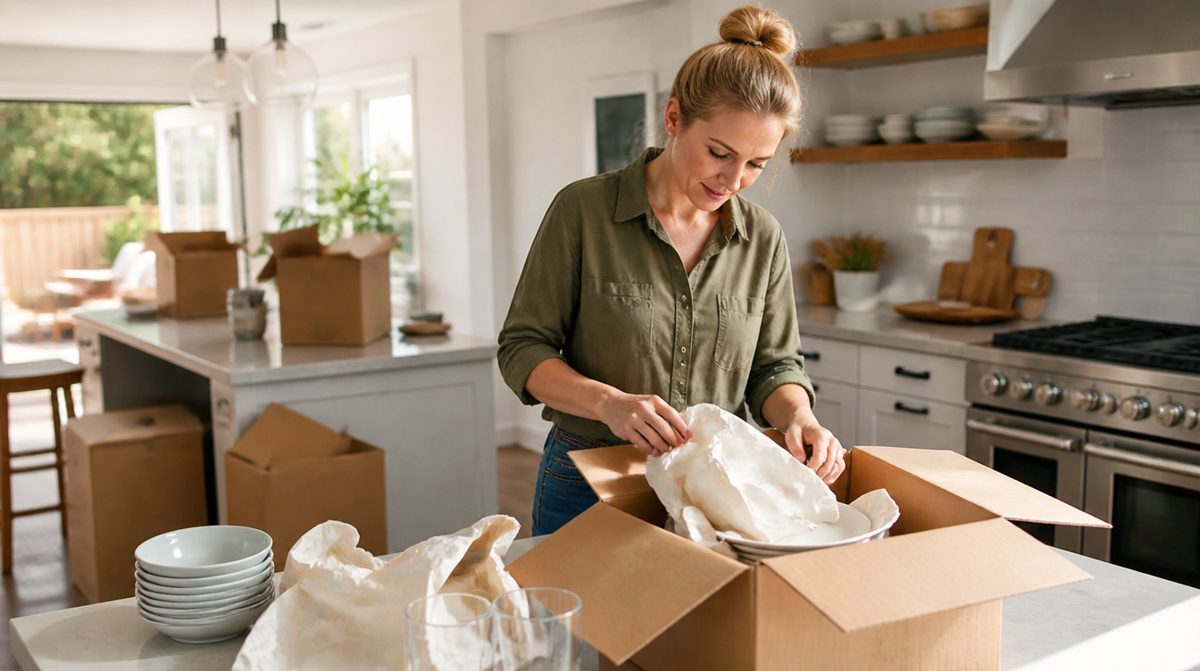
The kitchen is usually the hardest room to pack. It holds fragile items, awkward shapes, sharp tools, and food that can spoil or spill. Starting early and working in a clear order turns a stressful job into a manageable one. This guide breaks the process into steps you can spread over a few days.
Gather Materials First
- Sturdy boxes in small and medium sizes, since dishes get heavy quickly
- Packing paper, which is cleaner than newsprint for dishes
- Bubble wrap for glassware and serving pieces
- Strong packing tape and a marker
- Small zip bags for screws, cords, and small parts
- Towels and dish cloths to use as padding
Step-by-Step Packing
- Sort before you pack. Go through cabinets and drawers and set aside duplicates, broken items, and things you have not used in years. Donate or recycle what you do not want to move.
- Use up food. Plan meals around the pantry and freezer in the weeks beforehand. Check with your mover about what they will and will not transport, since many will not carry open food, perishables, or certain liquids.
- Pack rarely used items first. Start with special-occasion dishes, small appliances, and serving platters. Leave everyday plates, a few utensils, and a pan or two for last.
- Build a base layer. Crumple packing paper in the bottom of each box to cushion it.
- Wrap plates individually. Stack a few sheets, wrap each plate, and stand plates on their edges rather than lying flat. Edge-standing is more resistant to breakage.
- Protect glasses and mugs. Stuff paper inside each one, wrap it fully, and place heavier items at the bottom and lighter stemware at the top. Never stack glasses rim to rim.
- Fill empty space. Add crumpled paper or towels until nothing shifts when you gently shake the box.
- Seal and label. Tape the seam and bottom, and write the room, a short contents note, and the word fragile on several sides.
Handling Tricky Items
Knives should be wrapped in cardboard or a folded towel and clearly marked so no one reaches in unsuspecting. Pots and pans can nest together with paper between them, and lids can ride along in the same box. Small appliances travel best in their original boxes if you still have them. Wrap cords and tape them to the appliance, and be sure removable parts like blender jars are packed separately and secured.
For pantry goods, tighten lids, put dry goods in zip bags, and wrap bottles upright in a box with padding. Spices and oils are common sources of spills, so consider using up or discarding half-used containers before the move.
The Essentials Box
Keep a separate box for your first day in the new place. Include paper plates, cups, basic utensils, a coffee maker, dish soap, a sponge, trash bags, a can opener, and a few snacks. Mark it clearly and ask movers to load it last so it comes off first, or carry it in your own vehicle.
Unpacking Strategy
When you arrive, unpack the essentials box first, then wipe shelves before putting anything away. Group items by how you use them: cooking items near the stove, dishes near the dishwasher, and food storage near the pantry. Unpack the rest gradually instead of trying to finish in one night.
Takeaway: Sort first, pack the least-used items first, wrap everything individually, and keep an essentials box handy. A bit of order in the kitchen makes the rest of the move far smoother.