
How to Patch a Small Hole in Drywall
Repair doorknob dents and anchor holes so the wall looks untouched once it is painted.
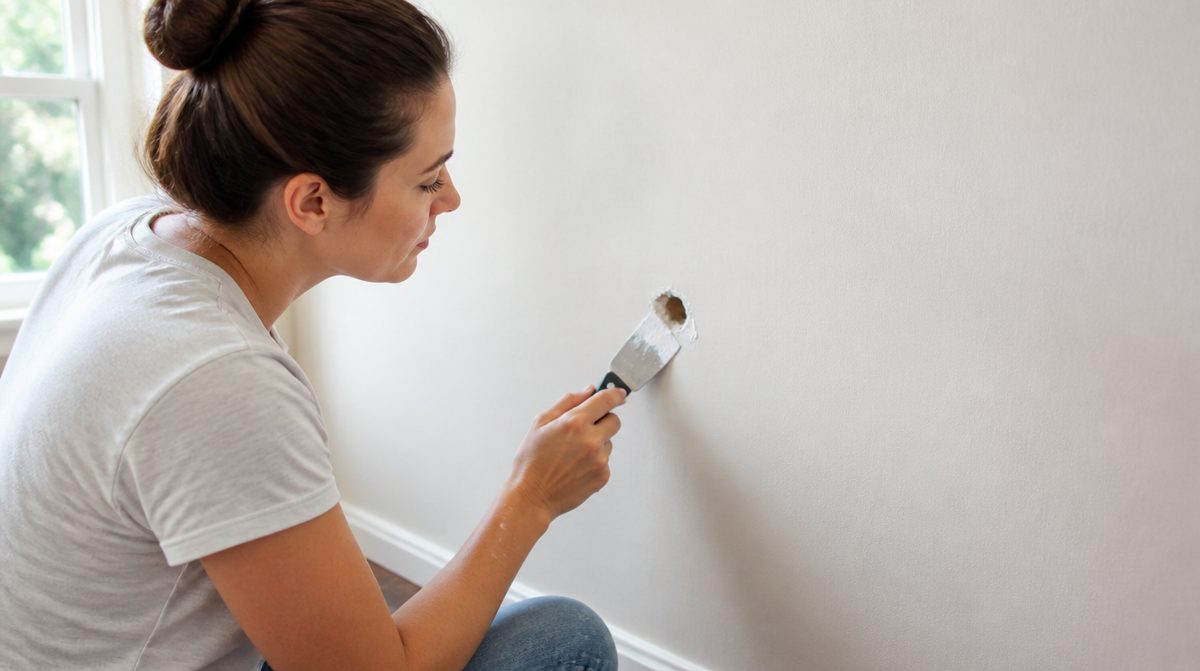
Nail holes, picture-hanger damage, and the dent from a doorknob are common wall problems, and most can be fixed in an afternoon with inexpensive supplies. The secret to an invisible repair is patience: thin layers of compound, enough drying time between them, and careful sanding. This guide covers holes up to roughly the size of a fist. Larger damage may need a different approach, and any wall that is wet, moldy, or sagging should be inspected for a moisture problem first.
Gather Your Supplies
- Lightweight spackle for small holes, or joint compound for larger ones
- A flexible putty knife and a wider taping knife
- Self-adhesive mesh patch for holes larger than a coin
- Fine-grit sanding sponge
- Primer and matching paint
- A damp rag and a drop cloth
Patching Small Holes
For nail holes and small anchor holes, the repair is quick. Press a small amount of spackle into the hole with the putty knife, scrape it flat so it sits level with the wall, and let it dry fully. Some products change color as they dry, which helps you know when to move on. Lightly sand, wipe away the dust, and prime the spot before painting. Skipping primer is a common reason patches show through, because spackle absorbs paint differently from the surrounding wall.
Patching Medium Holes Step by Step
- Prepare the edges. Cut away loose paper and crumbled gypsum around the hole with a utility knife. Remove anything that moves or flakes.
- Apply a mesh patch. Center a self-adhesive mesh patch over the hole and press it flat so every edge is stuck to the wall.
- Spread the first coat. Using the taping knife, spread a thin layer of joint compound over the mesh, pressing it through the openings and extending a few inches past the patch.
- Let it dry. Follow the product directions for drying time. Thick coats dry slowly and are more likely to crack.
- Apply a second coat. Spread another thin layer, feathering the edges outward so the repair blends gradually into the wall. Make this coat a little wider than the first.
- Sand smooth. Once fully dry, sand lightly with a sanding sponge. Run your hand across the area with your eyes closed; you should not feel an edge.
- Prime and paint. Wipe off dust, apply primer, and then paint. Extend the paint a little beyond the repair, and blend toward a corner if the wall color has aged.
Common Reasons Patches Show
A repair that stands out usually has one of three causes. The first is a ridge left by compound that was not feathered wide enough. The second is a texture mismatch, since many walls have an orange-peel or knockdown finish that a smooth patch will not match. Texture sprays and stippling techniques exist for this, and practicing on scrap cardboard helps. The third is flashing, where the paint sheen over the patch looks different from the rest of the wall because the area was not primed.
When to Stop and Call a Professional
If the damage extends across a large section of wall, if the drywall is crumbling from water exposure, or if you suspect a hidden leak, the patch will not hold. Find and fix the source first. Likewise, if the wall is old and you are unsure what is in the paint or joint compound, check with a qualified professional or your local health authority about safe handling before sanding, since some older finishes can contain materials that should not be disturbed.
Takeaway: Clean the edges, use thin coats, sand lightly, and prime before painting. Taking your time between layers makes a small repair truly disappear.